


Project Description
Project outline
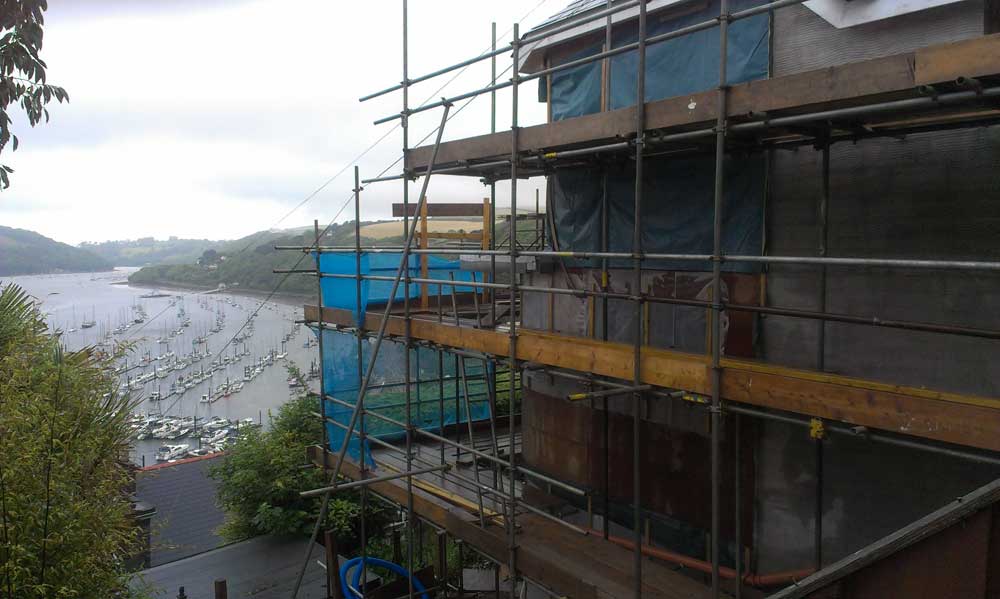
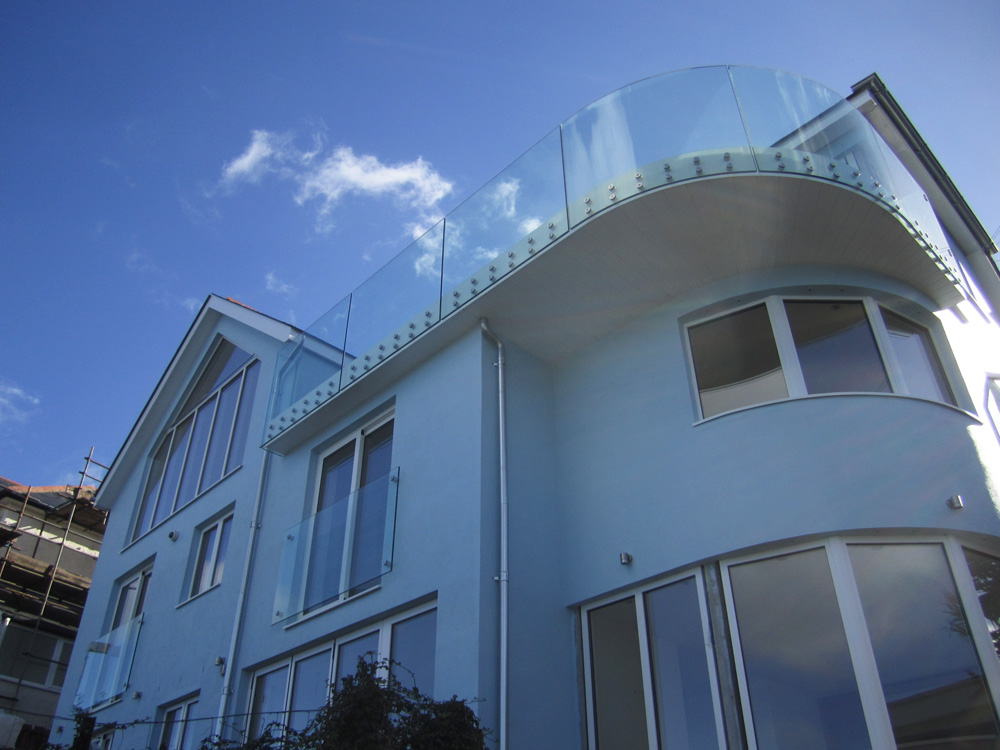
The project consisted of two button-fixed glass Juliette Balconies and approximately ten metres of frameless, button-fixed glass balustrade, to the new balcony area, including two curved panels.
Project Stages
Initial discussions and quotation:
Having been introduced to the job by the project architects – BBH Architects, Dartmouth – we conducted an initial site meeting to discuss the design intent and to look at any practical issues on site that might influence the design, prior to quoting for the work. Once the initial discussions and visit had been conducted, we produced a quotation based on the design discussions.
Design and survey stage:
Once we were taken on to do the work, we re-visited site to survey the openings for the Juliette Balconies and the steel channel that the balcony glass would attach to.
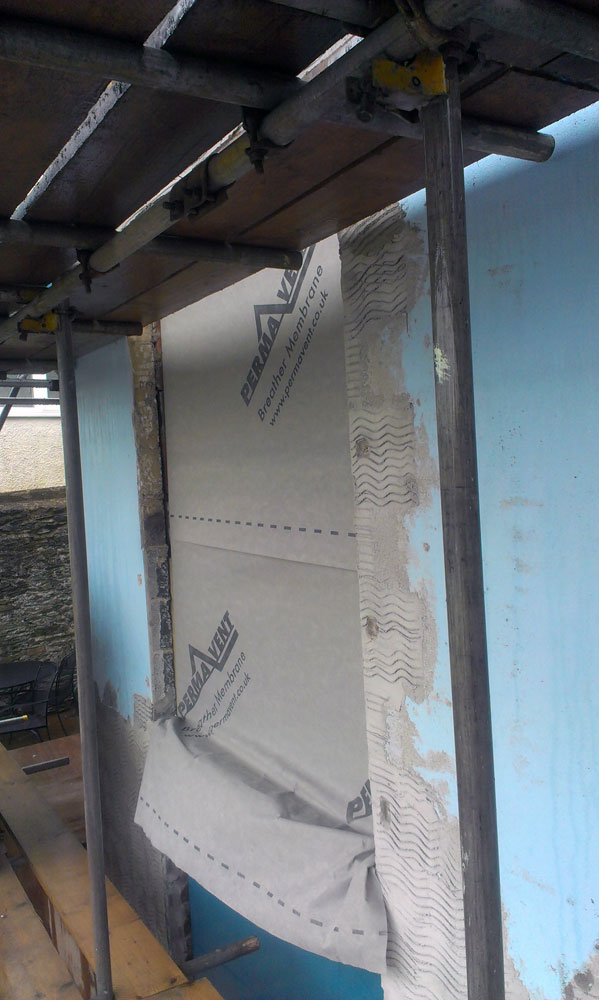
The openings for the two glass Juliette balconies were measured between the block-work walls. Also taken were dimensions for the required over-sail of glass each side, allowing for a safe edge distance for fixing the resin fixings, along with a dimension from the internal finished floor, to achieve the required 1100mm height to meet building regulations.
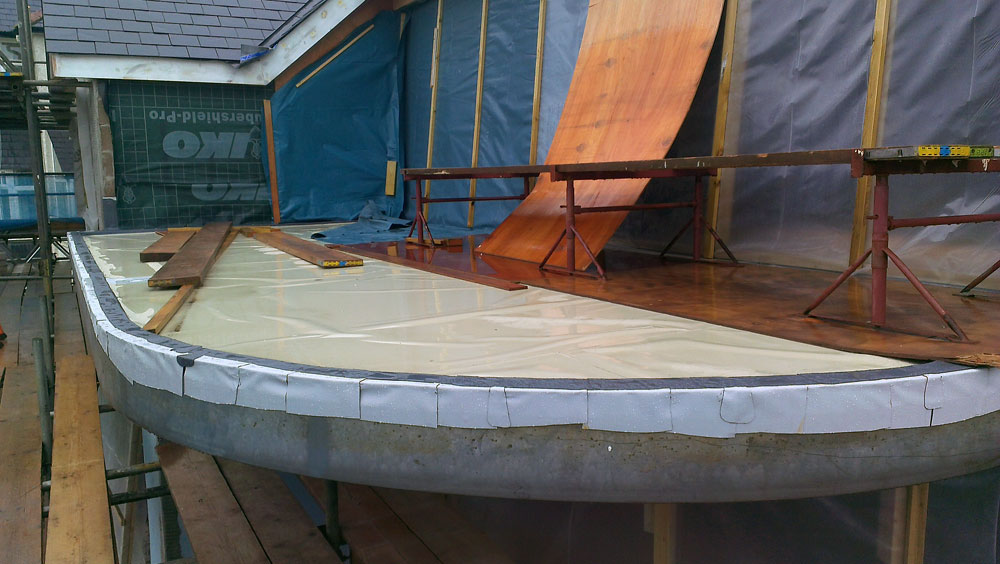
The survey for the balcony area took a fair bit more work. Levels both vertical and horizontal of steel, along with lengths for the straight balustrades and calculations to work out the curved section were all taken. These were then translated with CAD into accurate general arrangement drawings for approval.
As this is a coastal property, in a harsh environment, we use a laminated product called SentryGlas, from Dupont, due to it’s higher resistance to weathering in comparison to a standard PVB interlayer. Although slightly more expensive, the quality and longevity of the product outweighs the cost.
Manufacture:
Once the drawings were approved, manufacturing drawings for the glass and steel parts were produced and orders sent to suppliers. Glass lead-in times are notoriously difficult to pin down and this was the case again, with the supplier promising a date that was a week premature. This ended up holding the install up, but didn’t cause a problem for the hand-over and allowed the main contractor – TJD Construction – to finish the rendering around the openings at the Juliette balconies.
Installation Stage:
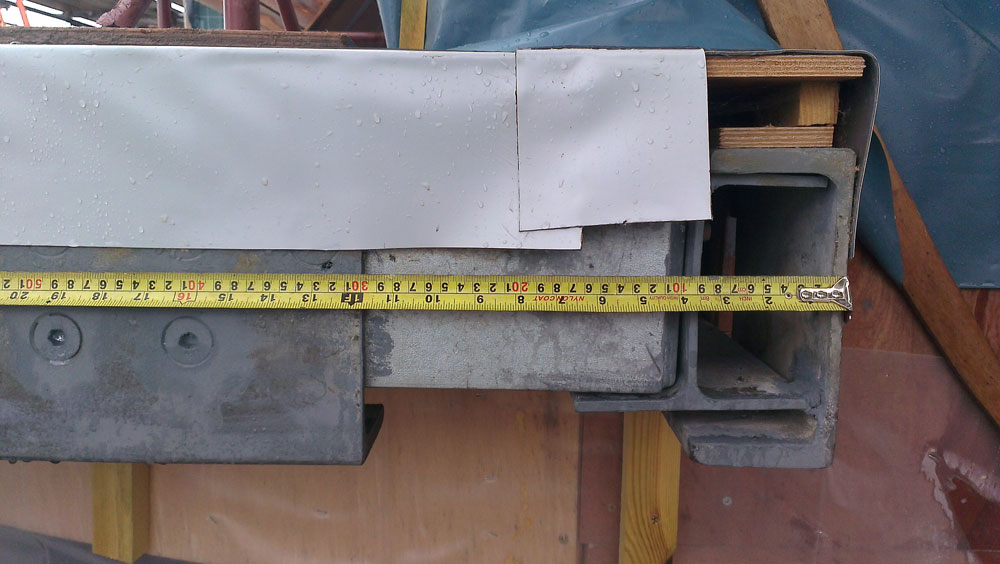
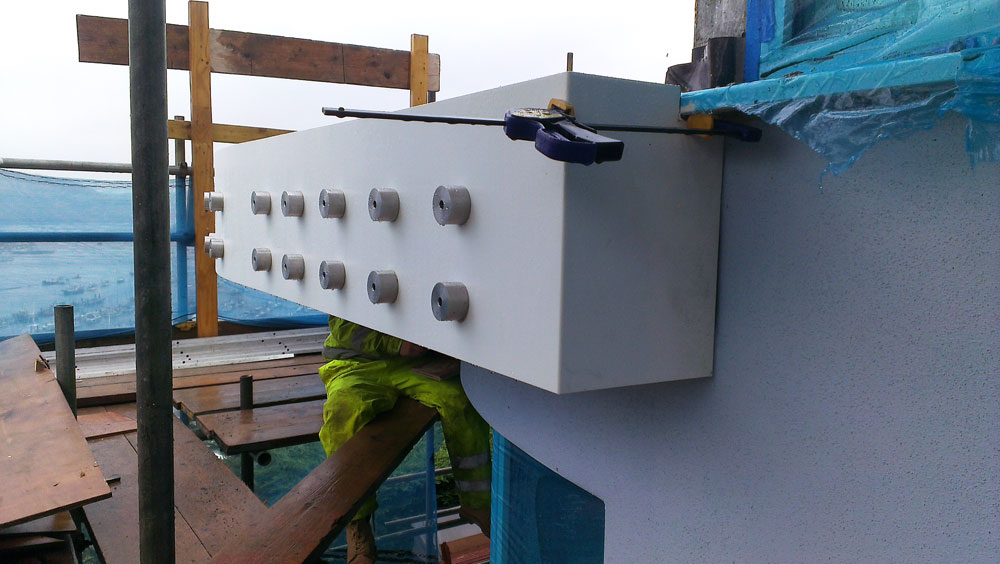
Installation was in two part. The initial stage was the fixing of the aluminium cover sheet to the balcony edge and the stainless steel fixings, along with setting out for the Juliette balconies.
There were various little issues to overcome, one particular issue was related to the fixing of a powder-coated aluminium cover sheet, behind the stainless steel fixings. Due to there being a waterproof membrane already bonded to the top of the steel, the aluminum required packing out from the face to give a solid fixing for the fitting. Luckily Steve Ellis was on hand with his experience to deal with this.
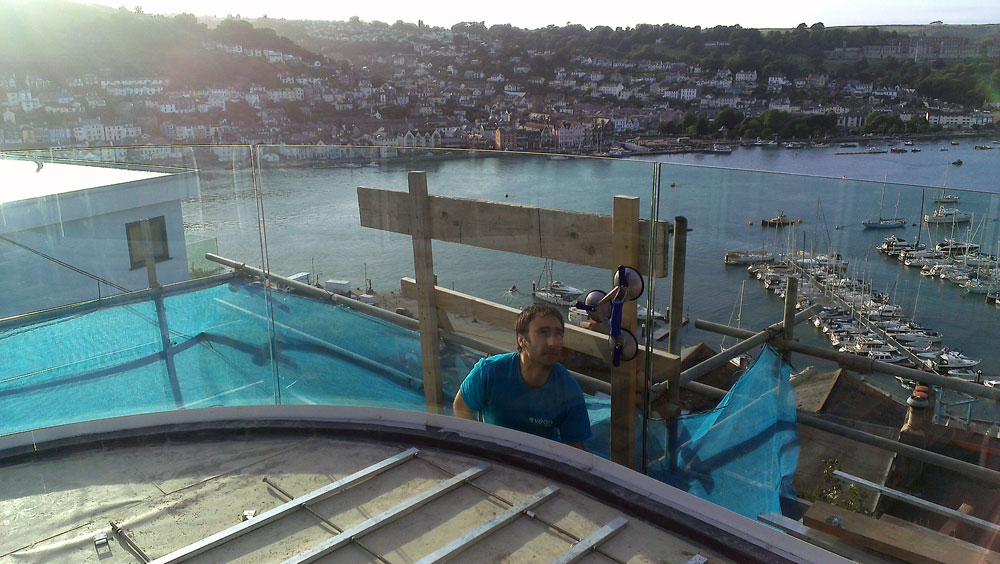
The second stage of the installation was the glass, which was handled through to the working area and lowered into position on the balcony, fixed in place with the bespoke stainless steel button fixings. Steve also took care of potential water ingress issues, sealing behind the aluminum front plate and up to the main contractor’s Sarnafelt waterproofing.
Please get in contact if you have a project that you would like us to take a look at.